Last updated: March 21, 2026
How the workspace is organized
A Detrics workspace contains:- Team Members: the people who can log in and use Detrics
- Connections: authenticated links to your ad platforms, analytics tools, and e-commerce stores
- Account settings: your plan, billing, and workspace preferences
Team Members
The Team Members page shows everyone in your workspace, their email, and their role (Owner or Member).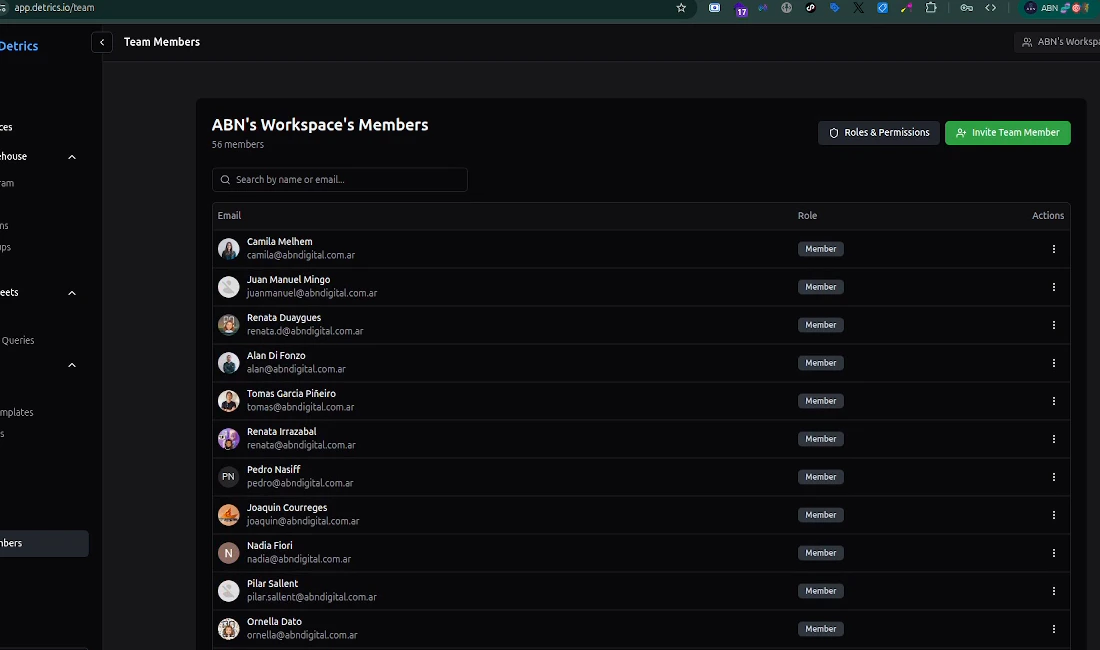
- Search for a member by name or email
- Invite new members using the green “Invite Team Member” button
- View roles & permissions to understand what each role can do
- Change a member’s role or remove them via the actions menu
Every workspace must have at least one Owner. Members can connect data sources and run queries, but only Owners can manage billing, invite users, and control team connections.
Data Sources
The Data Sources page is your central hub for all platform connections. Each platform row shows the number of active connections your team has established.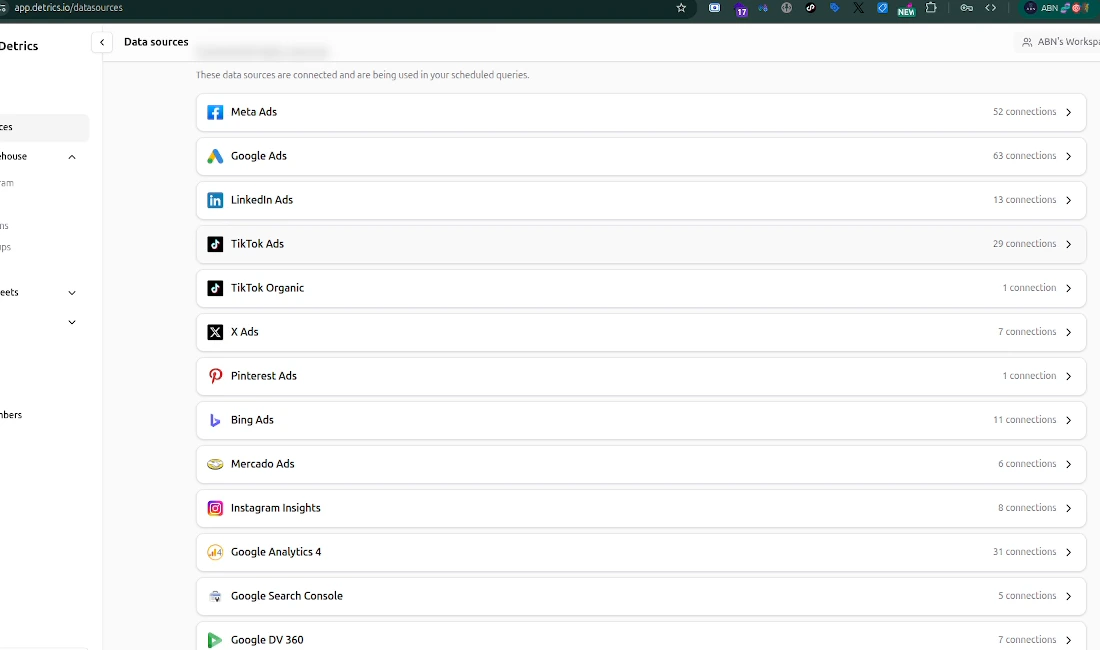
Common tasks
Invite a team member
In the left sidebar, under Workspace, click Team Members. Then click the green Invite Team Member button in the top right. Enter their email address and they will receive an invitation to join.
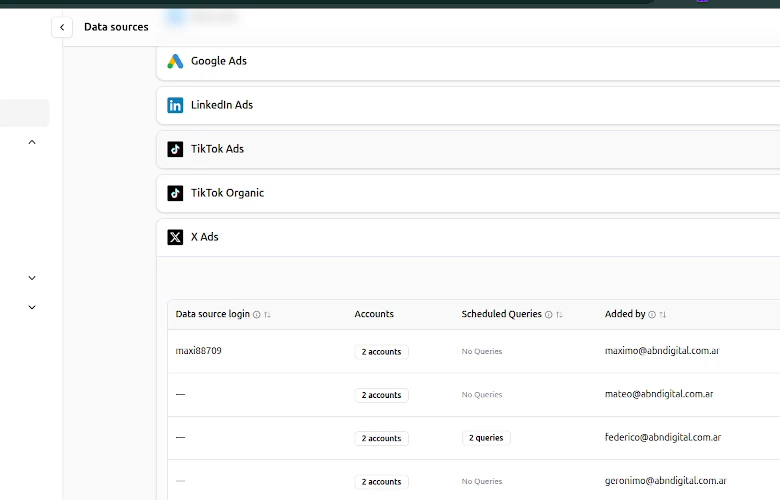
View your connections
In the left sidebar, click Data Sources (under the Platform section). You will see all connected platforms. Click a platform to expand it and view individual connections, the accounts they can access, and any scheduled queries using them.
Set connection sharing
New connections are public by default, all workspace members can use them. To restrict access, expand a platform, click the three-dot menu on a connection, and select Manage sharing. You can make it restricted (specific members only) or keep it public (everyone on the team can use it).
Key concepts
| Concept | What it means |
|---|---|
| Owner | Full access to billing, team management, and all connections |
| Member | Can connect data sources, run queries, and manage their own connections |
| Public connection | Any team member can use this connection in their queries (default) |
| Restricted connection | Limited to specific team members chosen by the connection owner |
Next steps
Roles & Permissions
Understand what Owners and Members can do
View & Manage Connections
Reconnect, replace, archive, and share connections
Connection Sharing & Permissions
Control who can access each connection
Fields Catalog
Browse all available metrics and dimensions